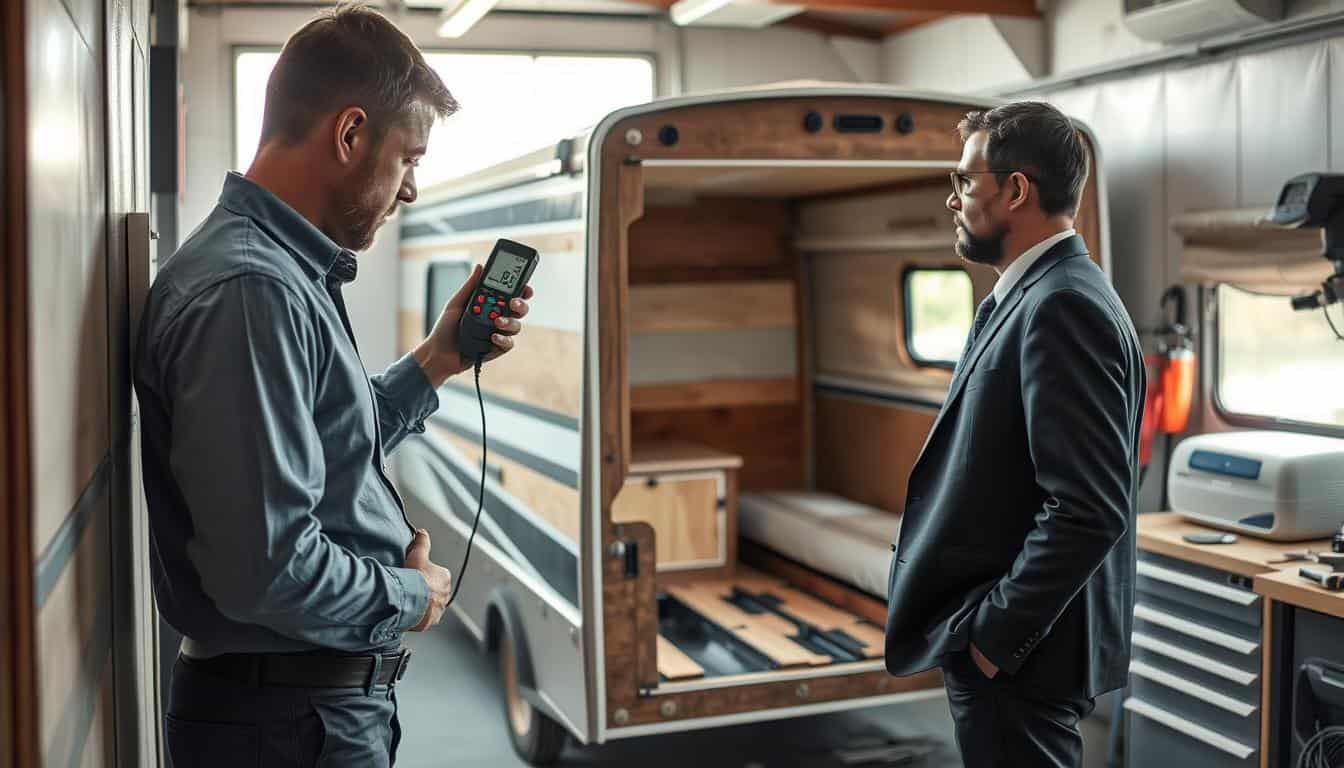
Owning a recreational vehicle is a significant investment that brings freedom and adventure to your life. However, hidden water intrusion can quickly turn your dream getaway into a costly burden. Protecting your asset requires proactive care and professional oversight to prevent long-term structural decay.
At MOTOEXPERT, we leverage over 25 years of industry experience to help owners maintain their vehicle’s value. Obtaining a professional Camper moisture damage report is the most reliable way to ensure your insurance claims are handled with absolute precision.
Our team specializes in a thorough moisture damage assessment to identify risks before they escalate. By choosing expert guidance, you ensure your safety and peace of mind on every journey. Let us help you keep your vehicle in top condition for years to come.
Key Takeaways
- Professional inspections protect your long-term financial investment.
- Early detection prevents expensive structural repairs later.
- MOTOEXPERT brings over 25 years of specialized industry experience.
- Accurate documentation is essential for successful insurance claims.
- Expert oversight ensures your vehicle remains safe for travel.
Understanding Camper Moisture Damage
Protecting your investment starts with a clear understanding of how moisture infiltrates your living space. When water finds its way into the structure of your vehicle, it can lead to rapid deterioration if left unchecked. A professional camper moisture damage report serves as a vital tool for identifying these hidden threats before they compromise your safety.
What Causes Moisture Damage in Campers?
Moisture typically enters a camper through compromised exterior seals around windows, doors, and roof vents. Over time, exposure to harsh sunlight and temperature fluctuations causes these sealants to crack or shrink. Once the barrier is broken, heavy rain can easily seep into the wall cavities and flooring.
Condensation is another silent culprit that often goes unnoticed by owners. When warm, humid air inside the camper meets cold exterior surfaces, moisture accumulates rapidly. This trapped humidity creates the perfect environment for structural decay and material breakdown.
“An ounce of prevention is worth a pound of cure, especially when it comes to the structural integrity of your home on wheels.”
Signs of Moisture Damage to Look For
Being proactive allows you to catch issues while they are still minor. You should regularly inspect your vehicle for soft spots in the flooring, which often indicate that the subfloor has absorbed water. Discoloration or bubbling on interior wall panels is another clear warning sign that moisture has penetrated the outer shell.
Do not ignore a persistent musty odor, even if you have recently cleaned the interior. This smell is frequently the first indicator of mold growth hidden behind cabinets or under furniture. If you notice these symptoms, obtaining a detailed camper moisture damage report is the best way to assess the extent of the problem and plan your next steps.
Importance of Regular Inspections
Protecting your investment starts with a proactive approach to seasonal care. Regular check-ups serve as your primary defense against the silent threat of moisture intrusion. By performing a thorough water damage inspection, you can catch small issues before they turn into expensive structural nightmares.
How Often Should You Inspect Your Camper?
Consistency is the key to maintaining a healthy vehicle. We recommend scheduling a comprehensive water damage inspection at least twice a year to ensure everything remains sealed tight.
It is especially vital to perform these checks before and after long storage periods or intense travel seasons. These transition times are when your camper is most vulnerable to environmental wear and tear.
“An ounce of prevention is worth a pound of cure, especially when it comes to the integrity of your home on wheels.”
Benefits of Preventative Maintenance
Preventative maintenance allows you to identify failing seals or minor cracks long before they allow moisture to penetrate the interior structure. When you stay ahead of these repairs, you avoid the financial and emotional stress associated with extensive, unexpected damage.
Taking the time for a regular water damage inspection keeps your camper road-ready and safe for your family. Ultimately, a little effort today saves you from major headaches down the road.
The MOTOEXPERT Evaluation Process
Our team brings over 25 years of experience in the European automotive field to every camper inspection we perform. We understand that your vehicle is a significant investment, and protecting it from moisture is our top priority. By choosing our camper water damage experts, you ensure that your vehicle receives a comprehensive assessment that leaves nothing to chance.
Step-by-Step Inspection Method
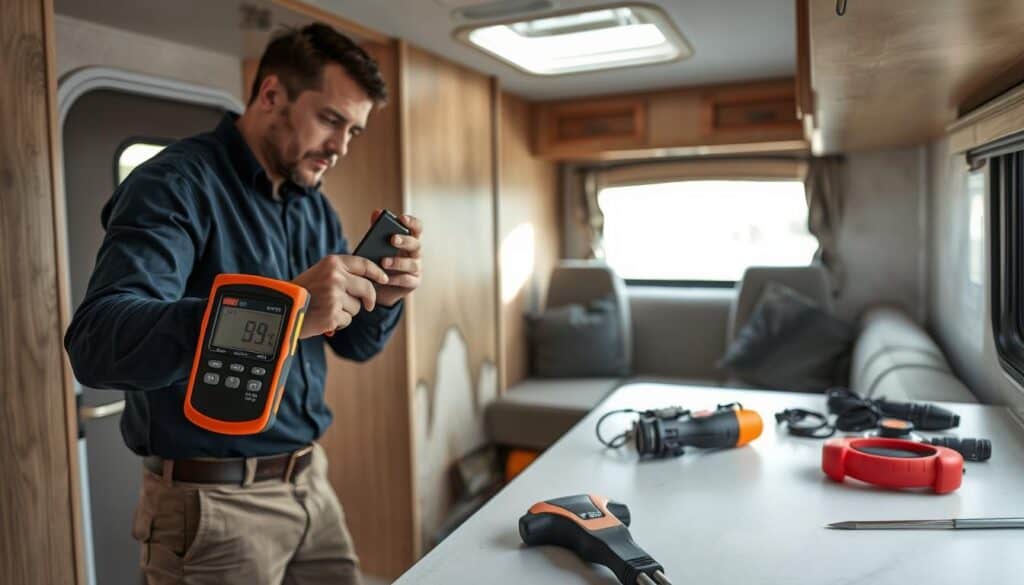
We follow a rigorous, systematic methodology to ensure that every corner of your camper is evaluated. Our process goes far beyond simple exterior bodywork to identify potential internal structural issues that are often invisible to the naked eye. Consistency is key to our success, as we document every finding to create an objective record for your records.
This detailed documentation serves as the foundation for all your future repair decisions. By maintaining a clear paper trail, we ensure that your assessment is both technically sound and legally defensible. You can trust our water damage inspection process to provide the clarity you need to move forward with confidence.
Tools and Techniques Used by Professionals
Our technicians utilize advanced diagnostic tools to detect moisture trapped deep within walls, floors, and ceilings. These high-tech instruments allow us to pinpoint the exact source of leaks without unnecessary dismantling of your camper. We combine this technology with years of hands-on experience to deliver accurate results every time.
| Feature | Standard Inspection | MOTOEXPERT Professional |
|---|---|---|
| Visual Check | Surface only | Comprehensive structural |
| Diagnostic Tools | None | Advanced moisture meters |
| Documentation | Verbal summary | Detailed, defensible report |
| Experience | General knowledge | 25+ years specialized |
By relying on camper water damage experts, you gain access to a level of precision that standard checks simply cannot match. We are committed to providing an objective water damage inspection that helps you maintain the value and safety of your vehicle for years to come.
Common Areas Affected by Moisture
Protecting your camper from the elements starts with identifying the most vulnerable points of entry. Water has a way of finding even the smallest gaps in your vehicle’s exterior shell. By knowing where to look, you can stop small leaks before they turn into expensive headaches.
Roofs and Ceilings
The roof is your primary defense against rain and snow, making it the most critical area to monitor. Over time, sealant around vents, air conditioners, and skylights can crack or peel. Consistent camper roof maintenance is essential to ensure these seals remain watertight and flexible.
If you notice dark spots or soft patches on your ceiling, it is a clear sign that water has already bypassed the outer layer. Addressing these issues immediately prevents the moisture from soaking into the insulation and causing long-term damage.
Walls and Flooring
When water penetrates the roof or side panels, it often travels downward into the structure of the camper. This hidden moisture can lead to severe rot and structural instability if left unchecked. If you suspect water has reached these areas, you may need to look into professional RV interior repairs to restore the integrity of your living space.
Flooring is particularly susceptible because water tends to pool in the lowest points of the vehicle. Check for spongy spots near the corners or under the furniture, as these are often the first indicators of a deeper problem.
Windows and Doors
Window frames and door seals are frequent targets for moisture due to the constant vibration and movement of the vehicle. As the rubber gaskets age, they lose their ability to create a tight seal against the frame. This allows rain to seep into the wall cavities during travel or while parked.
Regularly inspecting these areas for gaps or cracked caulking will save you significant time and money. Keeping these seals in good condition is a simple yet effective way to maintain a dry and comfortable environment.
| Area | Common Issue | Inspection Frequency |
|---|---|---|
| Roof Seams | Cracked Sealant | Every 3 Months |
| Window Frames | Degraded Gaskets | Every 6 Months |
| Floor Corners | Soft Spots | Every 6 Months |
| Door Seals | Water Ingress | Every 3 Months |
Diagnosing Moisture Damage
Professional diagnostics turn the mystery of dampness into a clear, actionable repair plan. When you suspect a problem, water leak detection becomes the most important step in your maintenance routine. By catching issues early, you protect your investment from costly structural decay.
Visual Inspection Techniques
A thorough walk-through is your first line of defense against water intrusion. You should look for obvious warning signs such as peeling wallpaper, bubbling paint, or soft spots on the floor. These visual cues often indicate that moisture has already compromised the interior materials.
Pay close attention to corners, window frames, and ceiling seams where seals frequently fail. Even small dark spots or a musty odor can signal that water leak detection is necessary to prevent further spread. Consistent observation helps you identify trouble spots before they become major repair projects.
Utilizing Moisture Meters
While your eyes are helpful, they cannot see what is happening behind your camper’s walls. Electronic moisture meters allow us to quantify the level of dampness in hidden areas like insulation and wooden framing. This technology provides the accurate, measurable facts needed to determine the true extent of the damage.
By using these tools, we can pinpoint the exact source of a leak without unnecessary demolition. This targeted approach to water leak detection ensures that our repair recommendations are both efficient and effective. You gain peace of mind knowing that the root cause is addressed rather than just the surface symptoms.
| Diagnostic Method | Primary Benefit | Best Used For |
|---|---|---|
| Visual Inspection | Quick and accessible | Identifying surface damage |
| Moisture Meters | Quantifies hidden dampness | Deep structural analysis |
| Professional water leak detection | Comprehensive accuracy | Total system verification |
Repairing Moisture Damage in Campers
Addressing moisture damage in your camper requires a careful balance between hands-on effort and expert intervention. Deciding on the best path for RV interior repairs often depends on the extent of the water intrusion and your own technical comfort level.
DIY Repairs vs. Professional Help
Minor cosmetic issues, such as small stains on wall panels or loose trim, might be manageable for owners with basic tools. However, significant structural damage requires a deeper level of expertise to ensure the vehicle remains safe for travel.
Professional assessments provide an objective, third-party perspective that is invaluable when dealing with hidden rot or electrical concerns. Relying on experts ensures that your RV interior repairs meet industry safety standards and help preserve the long-term resale value of your investment.
Recommended Repair Materials
Selecting the right materials is just as important as the repair process itself. You must use products that are compatible with the unique, lightweight construction methods used in modern campers.
Using improper sealants or heavy-duty adhesives can lead to further issues down the road. We recommend focusing on these essential categories for your RV interior repairs:
- Marine-grade sealants designed to withstand constant vibration and temperature shifts.
- Water-resistant paneling that prevents future mold growth in damp environments.
- Specialized wood rot hardeners to stabilize damaged structural framing without needing a full replacement.
Always prioritize high-quality, flexible materials that can expand and contract with your vehicle. Taking the time to source the correct supplies will ensure your hard work stands the test of time.
Repair Cost Estimates and Budgeting
When you discover water damage, the first step toward recovery is creating a realistic budget. A thorough moisture damage assessment helps you avoid the common pitfall of underestimating the scope of work needed to restore your vehicle. By obtaining a detailed estimate, you can better navigate insurance negotiations and ensure that your settlement covers the true cost of high-quality restoration.
Factors Influencing Repair Costs
Several variables dictate the final price tag of your project. Labor rates vary significantly depending on your location and the expertise of the technician performing the work. Furthermore, the availability of specialized parts can impact your timeline and overall expenditure.
“Proper budgeting is the difference between a successful restoration and a project that stalls halfway through due to unforeseen costs.”
The severity of the rot is another major factor. A professional moisture damage assessment will reveal if the damage is localized or if it has compromised the structural integrity of the frame. Addressing hidden issues early often saves money in the long run by preventing secondary damage to electrical systems or insulation.
Average Costs for Common Repairs
Understanding typical market rates allows you to plan your finances with confidence. While every camper is unique, the following table provides a general guide for common repair categories to help you categorize your expenses.
| Repair Type | Complexity Level | Estimated Cost Range |
|---|---|---|
| Sealant Replacement | Low | $200 – $500 |
| Roof Patching | Medium | $800 – $1,500 |
| Wall Panel Replacement | High | $2,000 – $4,500 |
| Floor Substrate Repair | High | $2,500 – $5,000 |
Keep in mind that these figures are estimates. Always request a written quote that breaks down materials and labor hours. This transparency ensures that your moisture damage assessment remains a reliable tool for your financial planning throughout the entire restoration process.
Coping with Mold and Mildew
When moisture lingers, mold and mildew often follow, creating a hazardous environment inside your camper. If you notice a musty odor or visible spots, it is time to take immediate action. Proper mold remediation in camper units is essential to stop the spread of spores and protect your living space.
Health Risks Associated with Mold
Exposure to mold can lead to various health complications, especially for those with existing respiratory conditions. You might experience sneezing, coughing, or skin irritation when spending time in a contaminated vehicle. In some cases, prolonged exposure can trigger more severe allergic reactions or asthma attacks.
It is vital to recognize that these health risks apply to everyone traveling in the camper. Children, the elderly, and pets are often more sensitive to poor air quality. Prioritizing a clean environment ensures that your adventures remain safe and enjoyable for the whole family.
Effective Mold Remediation Strategies
Successful mold remediation in camper interiors requires more than just wiping away surface growth. You must identify and eliminate the moisture source first, or the mold will simply return. Without fixing the root cause, your cleaning efforts will be temporary at best.
For non-porous surfaces, a mixture of mild detergent and water or specialized cleaning agents can be effective. However, if mold has infiltrated porous materials like insulation, carpeting, or wood framing, these items often need to be removed and replaced. Professional intervention is highly recommended when the infestation covers a large area or is hidden behind walls.
Always wear protective gear, such as gloves and a mask, when handling moldy materials to avoid inhaling spores. By following these rigorous steps for mold remediation in camper maintenance, you can restore your vehicle to a healthy state. Staying proactive is the best way to keep your home-on-wheels safe for years to come.
Preventing Future Moisture Issues
A dry camper is a happy camper, and maintaining that environment is simpler than you might think. By adopting a few consistent habits, you can protect your vehicle from the common pitfalls of water intrusion. Focusing on moisture damage prevention early on will save you significant time and money in the long run.
Tips for Maintaining a Dry Camper
The most effective way to keep your interior dry is through proper ventilation. Always crack a window or use a roof vent when the camper is occupied to allow humid air to escape. This simple step prevents condensation from building up on cold surfaces during the night.
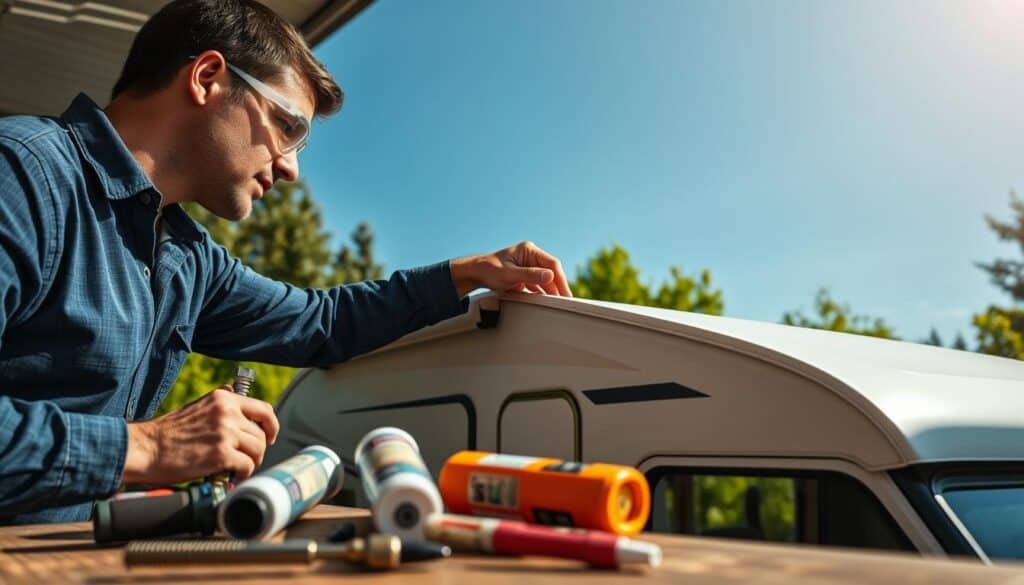
Regular camper roof maintenance is equally vital for long-term health. You should inspect your roof seals and seams at least twice a year for any signs of cracking or peeling. Applying a high-quality sealant immediately upon finding a gap is the best defense against leaks.
Furthermore, performing periodic water leak detection checks will help you catch small issues before they become major problems. Use a moisture meter around windows, doors, and slide-outs after heavy rainstorms. Staying vigilant ensures that your camper remains a safe and comfortable space for your travels.
Best Practices for Storing Your Camper
When your vehicle is not in use, storage conditions play a major role in its longevity. Always choose a level, dry location to prevent water from pooling near the base of the unit. If possible, store your camper under a shelter to shield it from direct rain and snow.
Using a dehumidifier inside the cabin is a smart strategy for those living in humid climates. This device pulls excess moisture from the air, preventing mold growth on upholstery and cabinetry. You should also consider using a breathable cover to protect the exterior while allowing trapped moisture to escape.
Finally, remember that moisture damage prevention is a year-round commitment. By combining regular water leak detection with diligent camper roof maintenance, you create a robust barrier against the elements. These proactive steps will ensure your camper stays in excellent condition for many years to come.
Customer Success Stories
Seeing the transformation of a damaged vehicle provides peace of mind for every owner. Our camper water damage experts have guided many clients through the stress of insurance claims and structural repairs. These stories prove that clear, technical documentation leads to better outcomes.
Client Success Stories
Many owners feel overwhelmed when they discover hidden leaks in their recreational vehicles. By utilizing our detailed reports, clients at MOTOEXPERT successfully secured fair settlements from their insurance providers. These documents translate complex technical findings into simple language that adjusters understand clearly.
Visualizing the Restoration Process
Reviewing before-and-after case studies highlights the value of high-quality intervention. You can see how our camper water damage experts identify rot and structural decay before they compromise the entire frame. These visual examples show the path from a compromised unit to a safe, road-ready home on wheels. Reach out to our team today to start your own restoration journey with confidence.
FAQ
What exactly is included in a professional camper moisture damage report?
How often should I schedule a water damage inspection for my RV?
What are the early warning signs that I need a moisture damage assessment?
Why is camper roof maintenance so critical for preventing interior damage?
When should I choose professional RV interior repairs over a DIY approach?
How does MOTOEXPERT handle mold remediation in camper units?
Can a moisture damage assessment help me with an insurance claim?
What tools are used during a professional water leak detection process?
Likwidacja szkody: samodzielnie czy z MOTOEXPERT?
Porównaj, zanim ubezpieczyciel zdecyduje za Ciebie.
| ✗ Samodzielnie (kalkulator / AI ubezpieczyciela) | ✓ Z MOTOEXPERT + rekomendowany Adwokat |
|---|---|
| Wycena rzeczoznawcy ubezpieczyciela — interes płatnika, ryzyko zaniżenia | Niezależna certyfikowana opinia techniczna — pełny kosztorys wg stawek rynkowych |
| Pominięte pozycje: utrata wartości, auto zastępcze, holowanie | Komplet roszczeń: utrata wartości pojazdu, auto zastępcze, koszty dodatkowe |
| Samotne negocjacje z ubezpieczycielem, bariera językowa | Obsługa po polsku + rekomendowany Fachanwalt für Verkehrsrecht do reprezentacji prawnej |
| Sztuczna inteligencja nie stanie za Tobą w sądzie — koszt błędu ponosisz Ty | Szkoda z OC sprawcy w Niemczech przy jednoznacznej odpowiedzialności: uzasadnione koszty rzeczoznawcy co do zasady pokrywa ubezpieczyciel sprawcy (§ 249 BGB) |